Interactive Coaster
Team members:
- Katarína Bielčiková
- Martin Pažický
- Roman Berešik
Motivation:
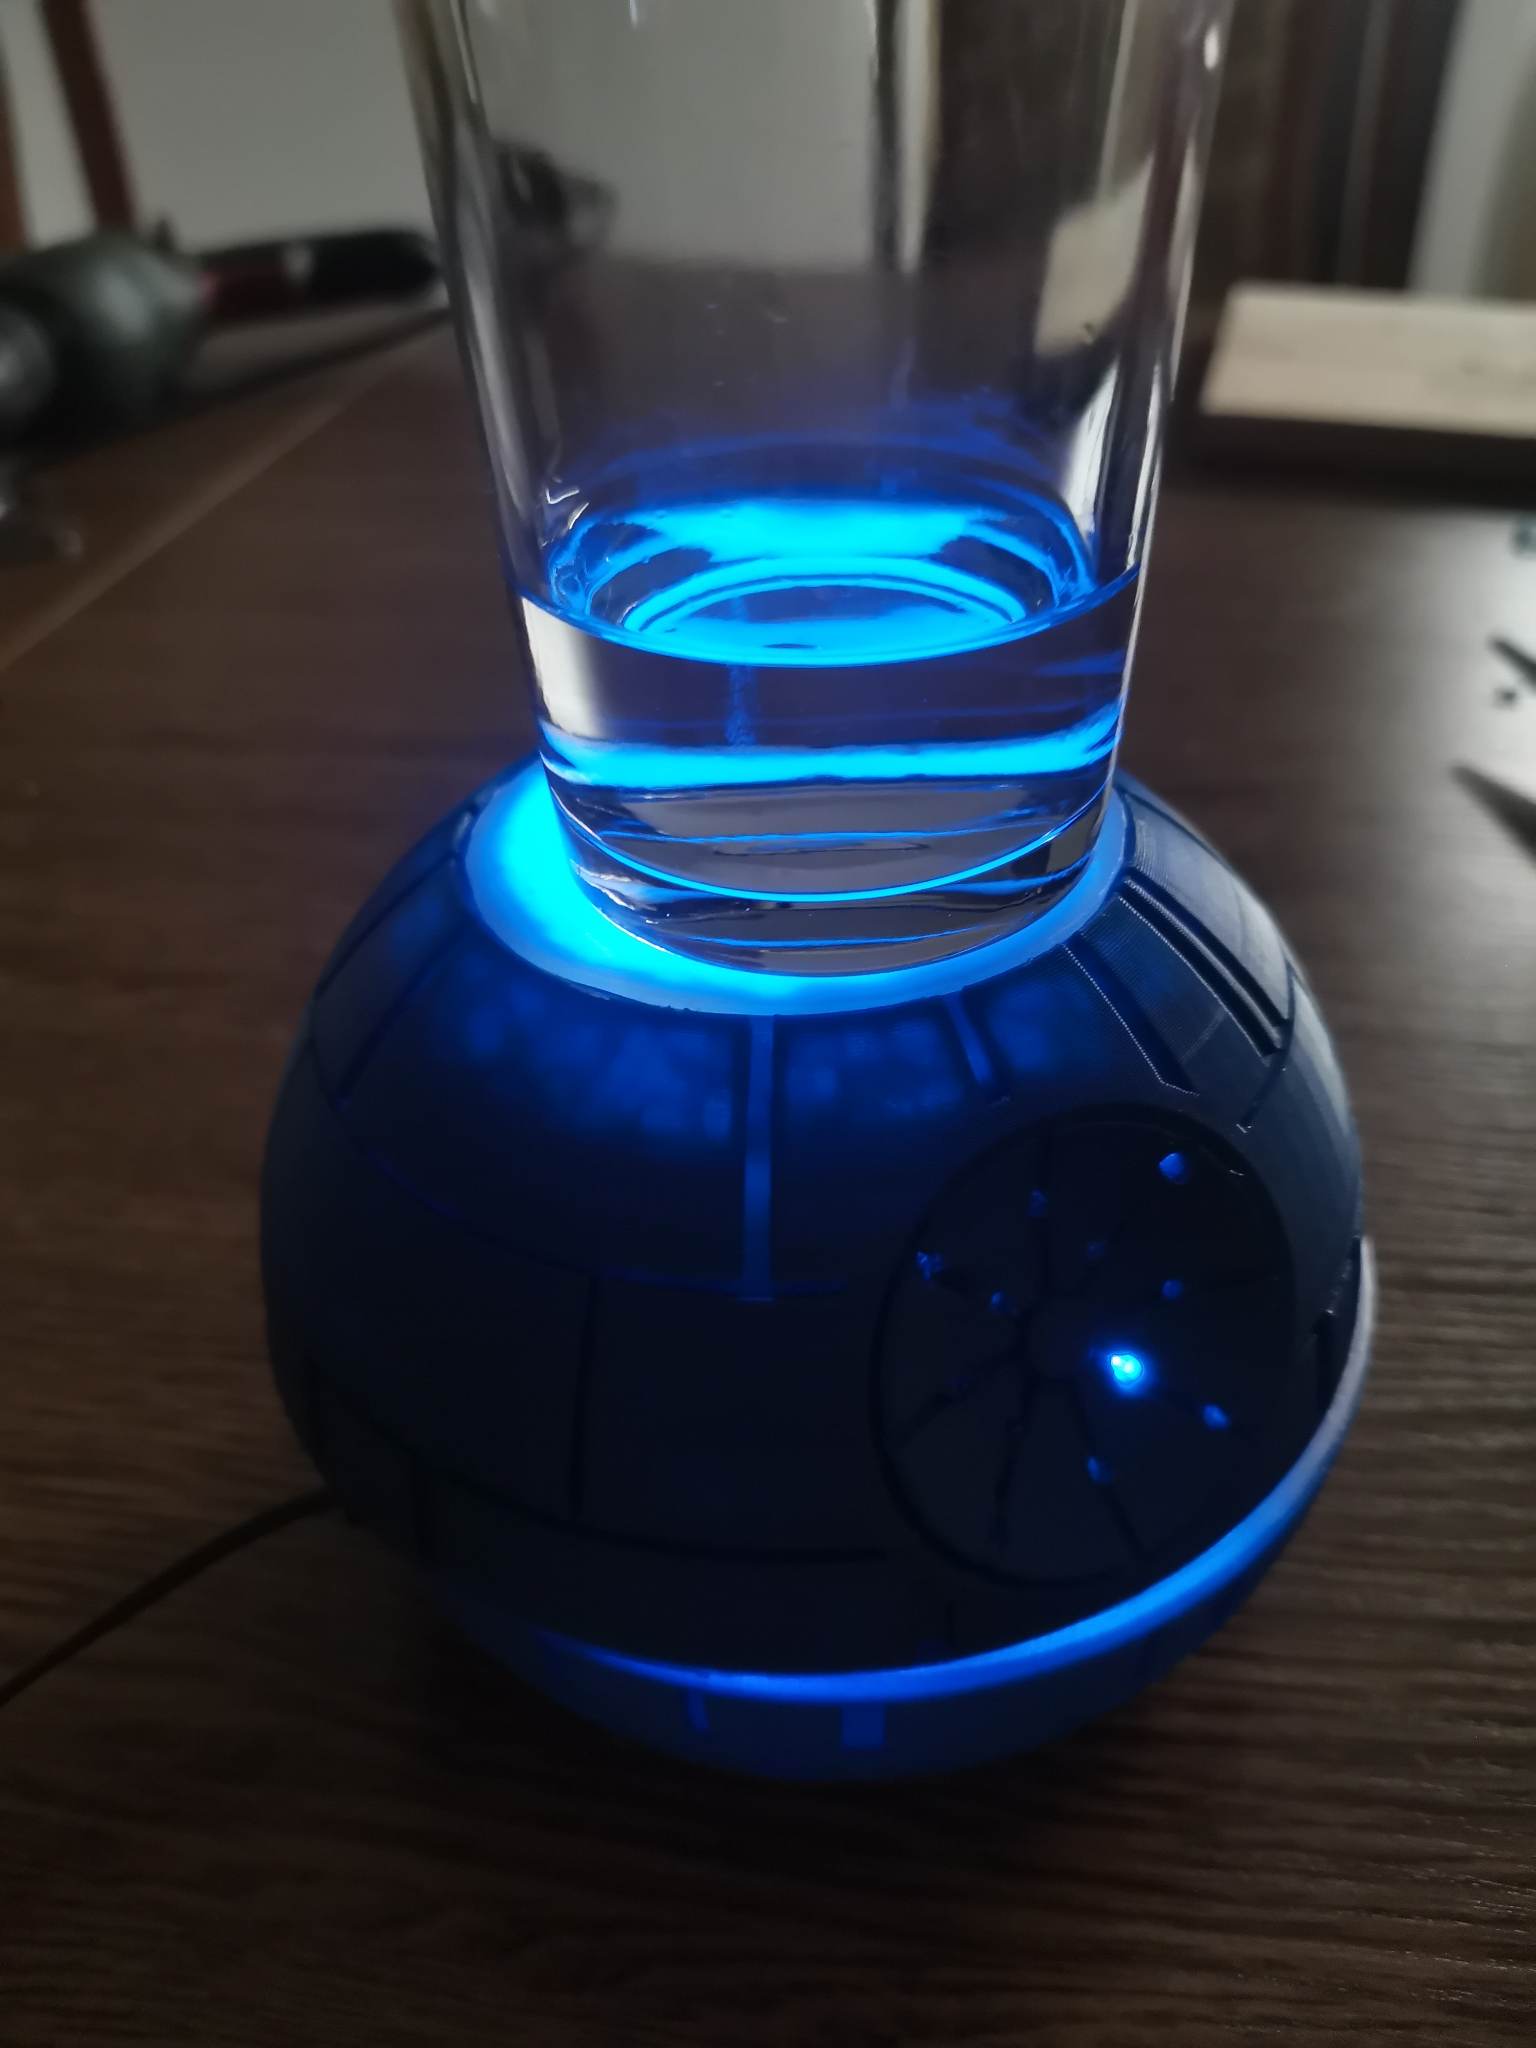
Coaster is a tool we use daily. It helps to keep the surfaces of furniture clean without any stains or scratches caused by glasses or cups. Coasters are usually inconspicuous and one does not really care about their design. That is not the case for this project. We decided to make the exact opposite - a coaster that glows and plays sound when a glass is put on the top, a coaster that attracts lots of attention. Since we are huge fans of the Star Wars films, we decided to design the coaster as the iconic Death Star. Although such coaster does not ease your life more than a normal one, it can make you smile and brighten your day a bit :)
Solution:
The solution to create an interactive coaster consisted of four main steps:
- Connecting the hardware
- Modeling the Death Star
- 3D Printing the Death Star
- Adjustments on the printed model
Hardware Connection:
First thing we needed was was to acquire and connect the hardware that facilitates the light glowing and sound playing. To make such hardware set functional, we required the following components:
- Arduino UNO
- MP3 player
- Speaker
- M/M cables
- Resistors
- Button
- MicroSD cart
- LED strip
After gathering all the necessary components we designed a scheme describing the way of connecting these components:
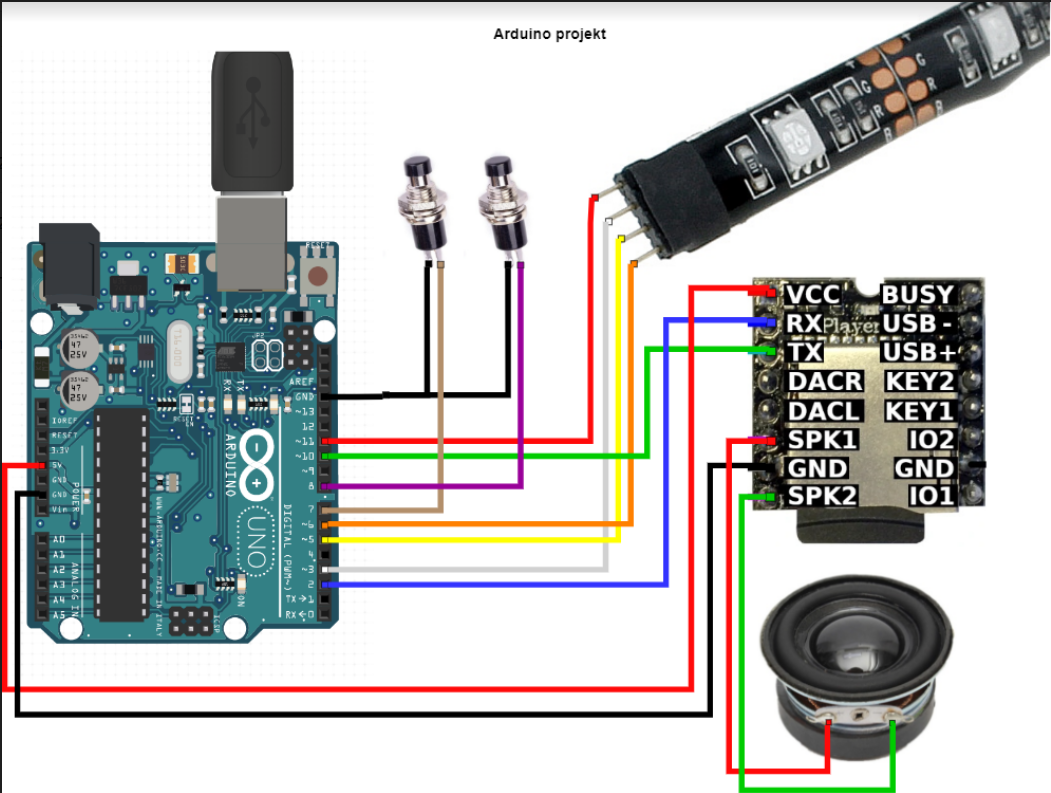
When all the hardware was connected according to the scheme, we measured it to find out what the size and scale of our Death Star model should be:

Death Star Modeling:
Since we wanted to 3D print the death star, we first needed to model it in a software. We deided to choose Blender. Our model consisted of 3 parts - top of the star, bottom of the star and a connecting layer.
Top: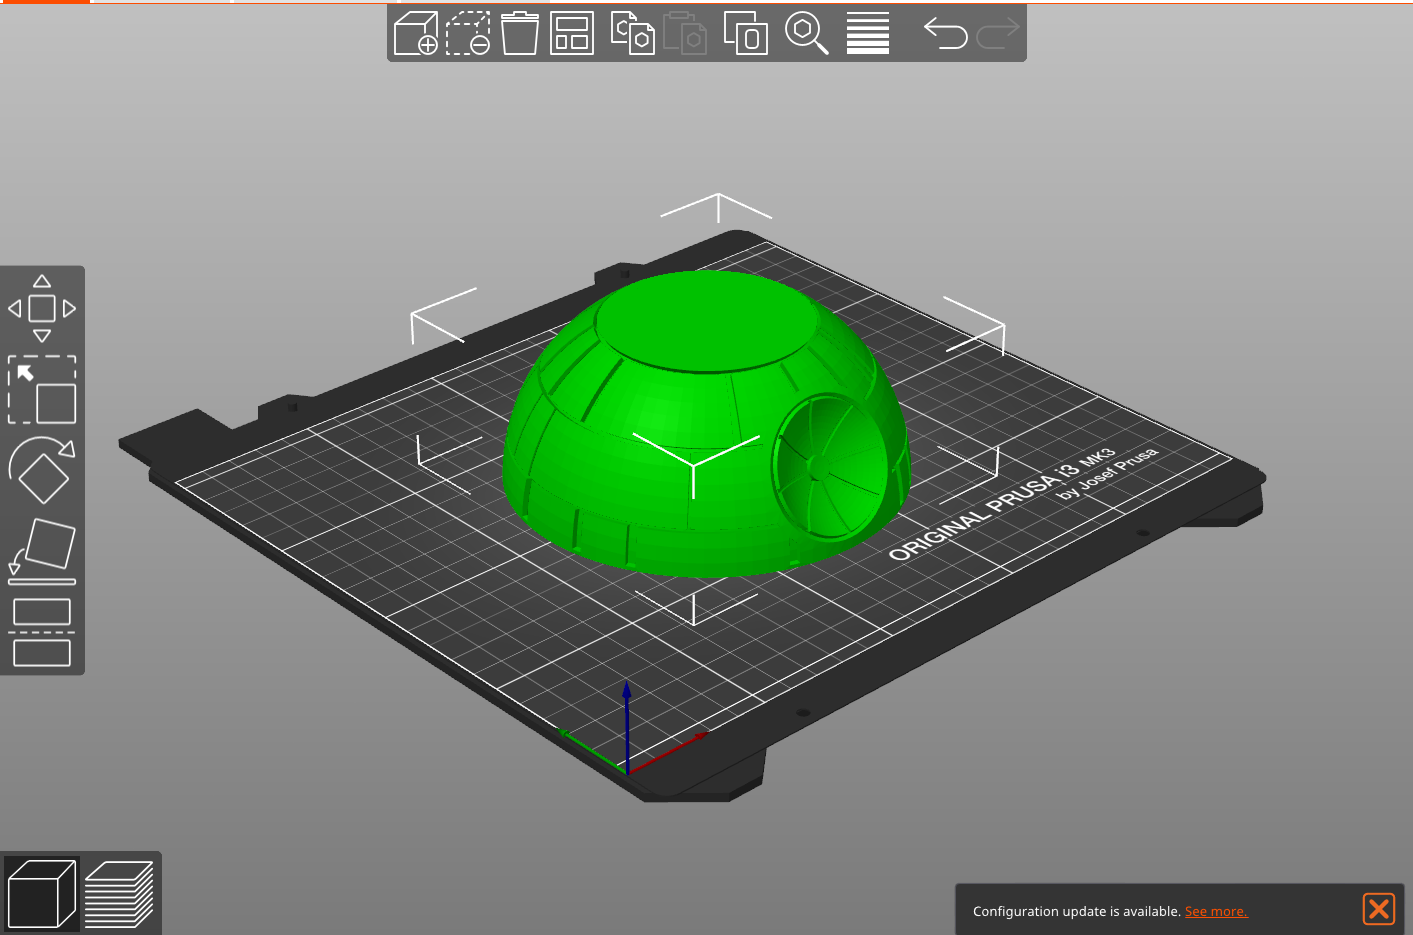
Bottom:

Middle:

All together in blender:

Death Star 3D printing:
We saved the model to .stl format. Then we used the Prusaslicer software for parsing the model to 3D printer instructions. We also needed to adjust the 3D printing settings to the following:

Prusaslicer parsed the model to .gcode file and it was ready for the 3D printer.
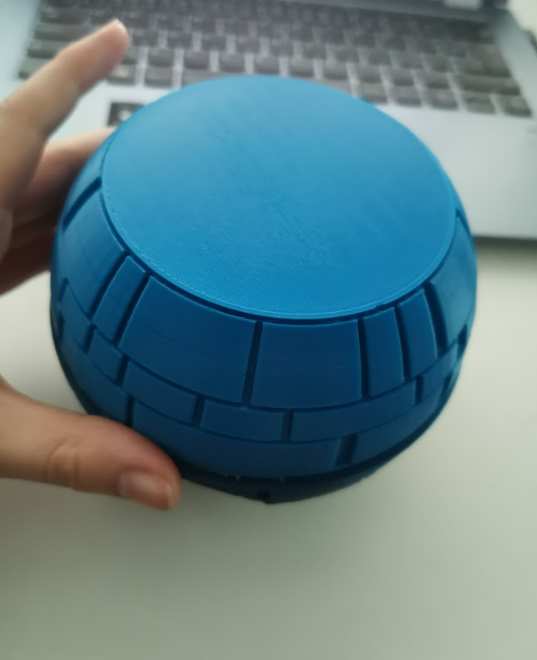
All the parts were printed successfully:
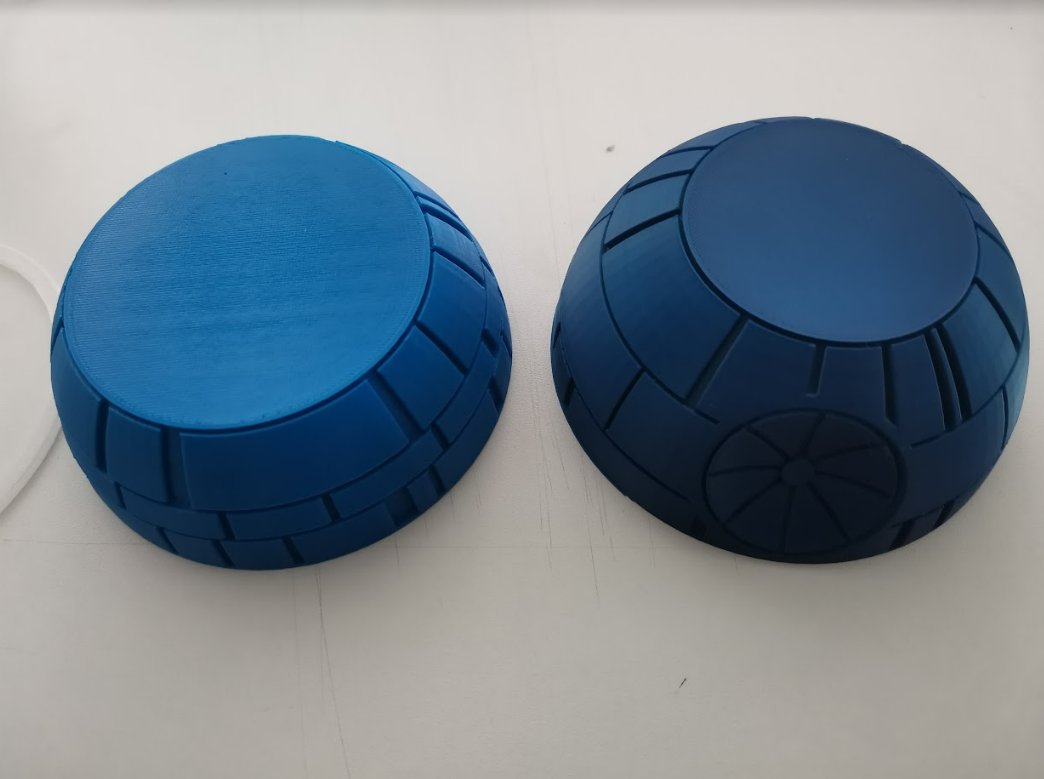
Adjustments on the printed model:
Finally, after printing the model we needed to put the hardware inside and we also had to make some adjustments. We created small holes with the use of drill to make the sound coming out of the speaker louder. We also used the drill to make place on for the button that turns on the lights and sound on the top part. Cap of the top part was also replaced with different - transparent material, so the lights could be more visible.
 2023/2024