P13-2020-Smart indoor glasshouse
Smart indoor glasshouse
- Návštevy: 626
Smart indoor glasshouse
Team Members: Jakub Mikolaj, Róbert Oros.
We came up with this idea because little babies were born in our families (and we believe that they will be born in the future) and we also think that this project would be suitable for our grandparents, when their monitoring is necessary in some health cases.
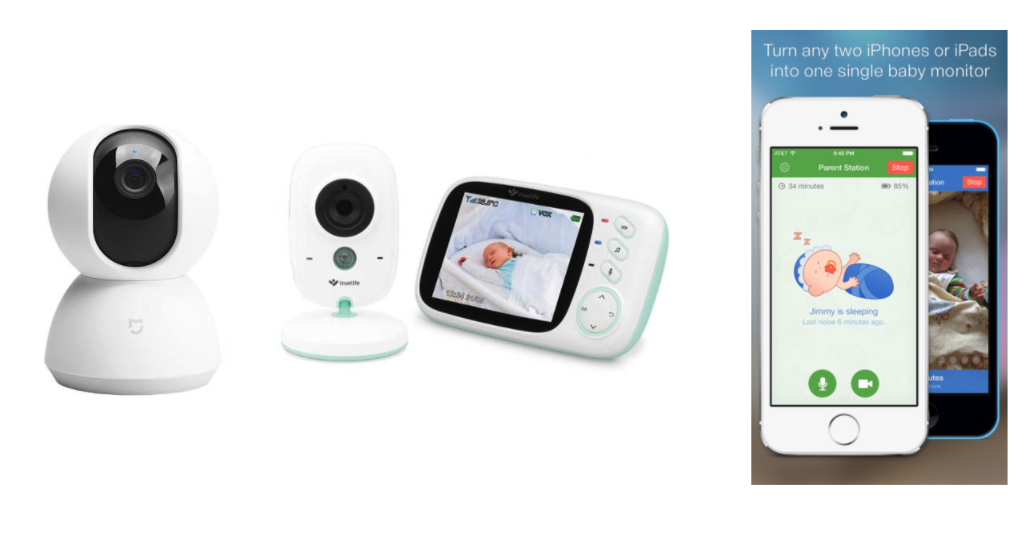
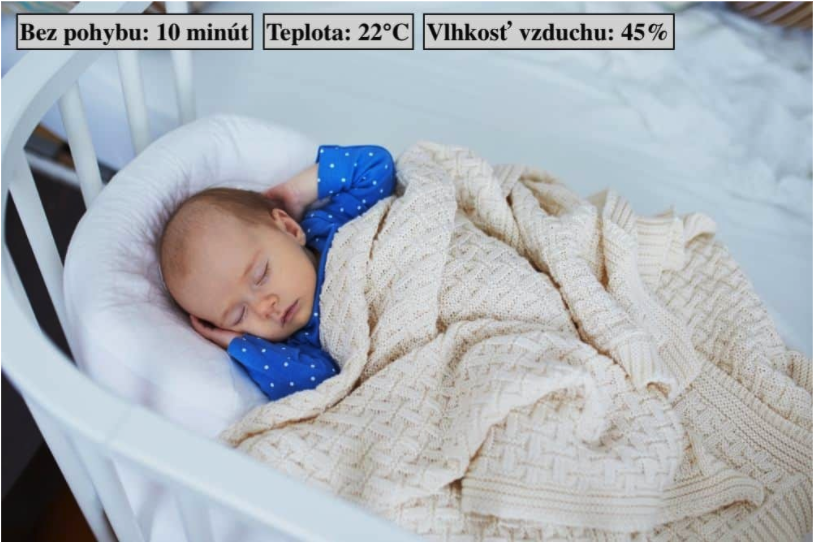
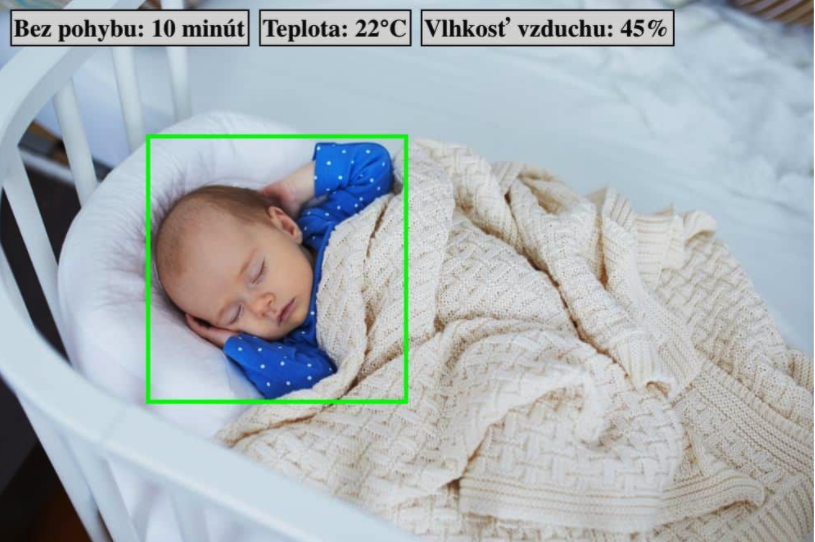
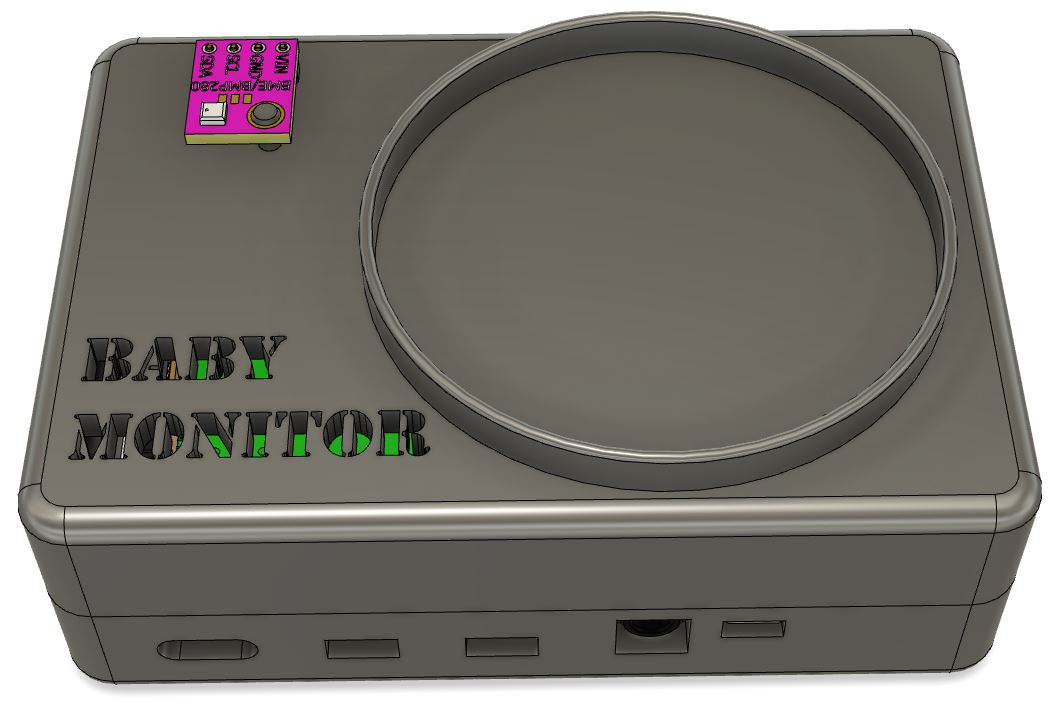
The most important component of baby monitor is control unit which will by drive all other elements. The control unit should be sufficiently powerful and compatible but at the same time small enough. Raspberry Pi best meets these requirements. The primary goal is to create a program that will provide an interface in which the user will be able to view records from the camera and hear sound. He will also be able to talk to the child Gradually, we will expand these basic functions with smart options such as motion and temperature measuring. The user will be notified of unwanted or unusual activities.
A camera (that will capture the baby) can be positioned in two ways as needed. Directly on the cover of the device or mount on the bed.
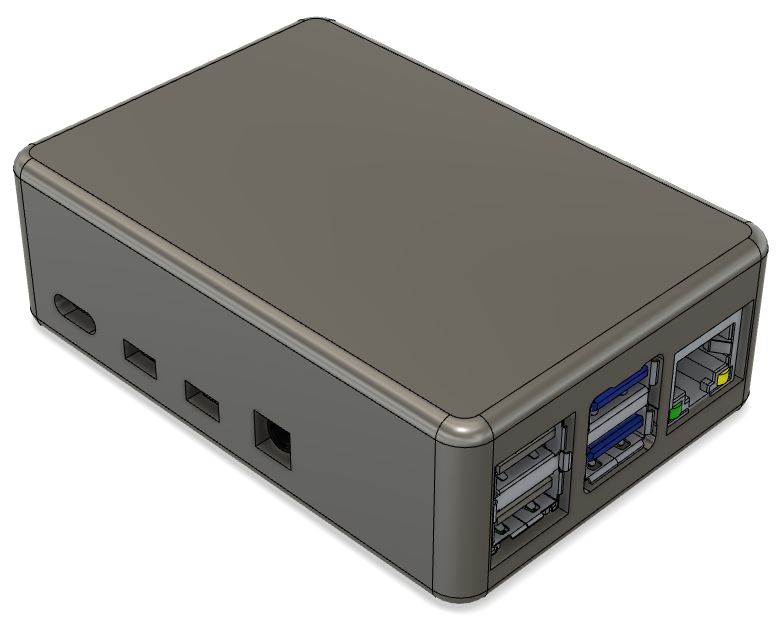
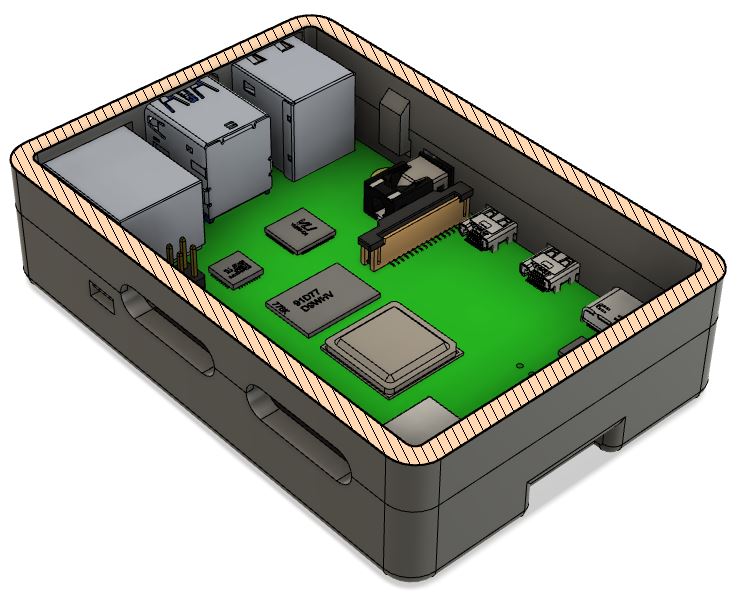
We need to cut holes for all inputs to Raspberry Pi (USB-C, USB, HDMI, micro HDMI, SD card...). At the bottom we created four pins for ensuring Raspberry Pi 4 against movement.
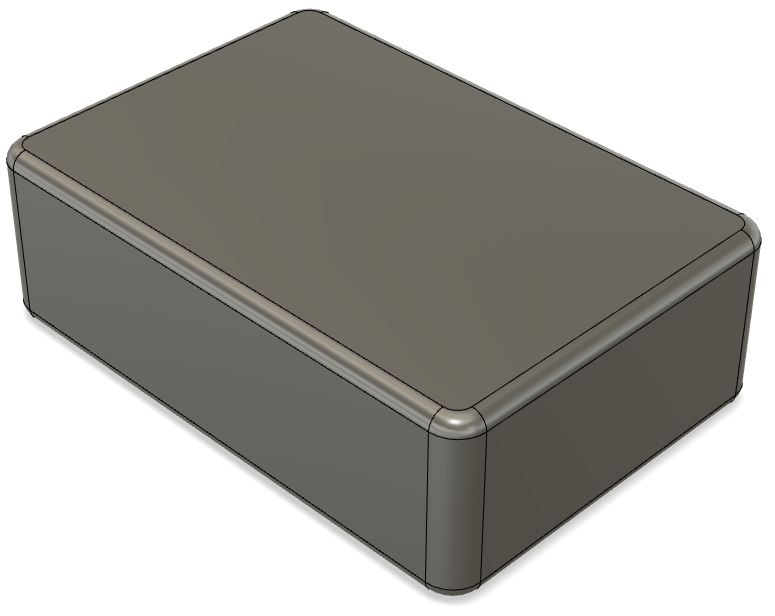
We split the case in half, to bottom and top part and also we created snap joints to hold the top and bottom parts together.
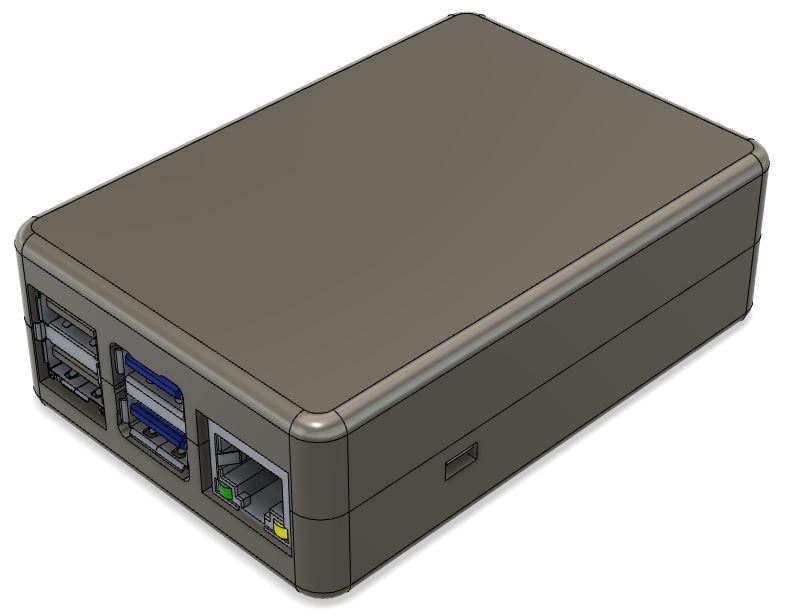
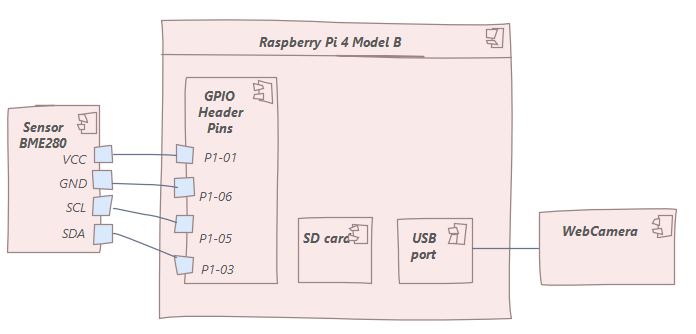
We realized that we also need holes for connecting the sensor (its cables) to GPIO pins header and also that I need to somehow connect the sensor to the raspberry pi. We did not want to put it inside the package so that the temperature was measured correctly.
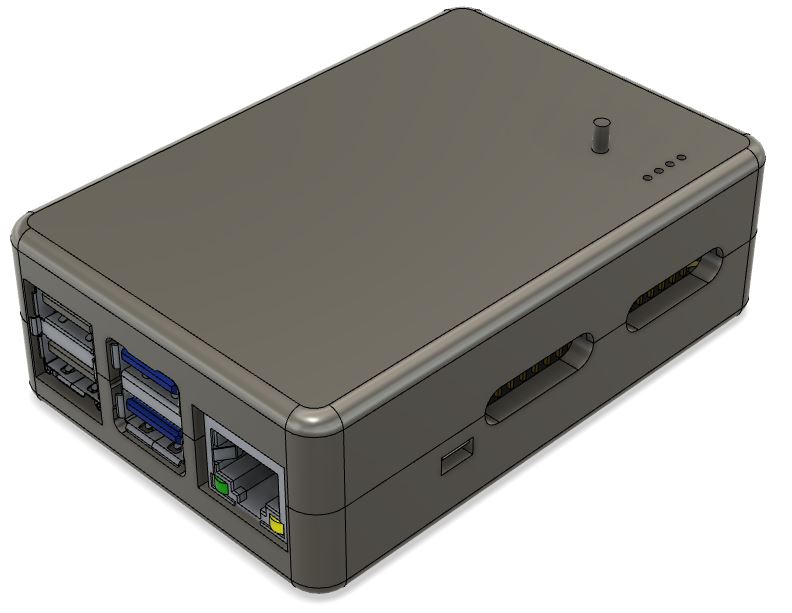
Since raspberri pi can overheat, we have created the inscription "Baby Monitor", which can also be used to ventilate hot air. Lastly we created a camera holder (only for our camera type – Microsoft lifecam vx 1000 what we found at home).
Our goal was to create smallest posible game console for gamers who want to play their favorite retro games whenever they want. In this project we created PCB design and scheme and and 3d model for Arduino micro based game console. At creating we aimed for small dimensions and good usability.
We aimed for users of all ages who want to play their favorite retro games.
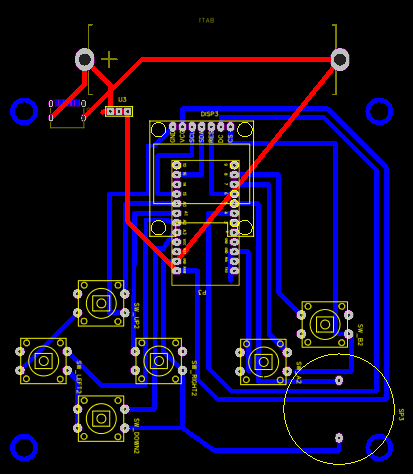
The red lines show the wires connected to the printed circuit board (dps).
The battery is not part of the board and is connected by wires to the board.
The loudspeaker in the lower right corner is actually smaller than designed and therefore does not overlap with the button or the anchor hole.
The display is actually larger than designed and is located at the level of the board and is connected to it by wires.
The dimensions of the board are 38x43x2 mm.

• 6 pcs button on the board
• 1 three-position switch
• 1 speaker for a flat board with a cross-section of 10 mm
• 1pc 0.96 “7 PIN SPI display
• 1pc USB C female
• 1pc battery 3-5V with dimensions up to 32x21x5mm
• 1pc Pro Micro Microcontroller
• 4pcs Screw with dimensions 2x15
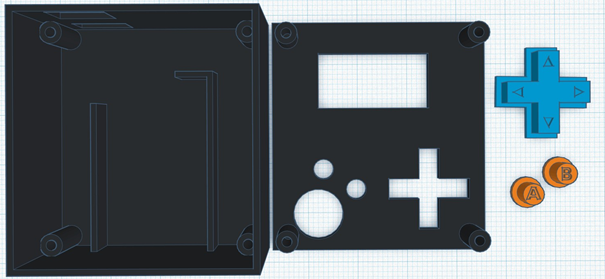
1. Printing printable parts according to the enclosed models.
2. Production or ordering of the board according to the attached design.
3. Soldering the components in their place on the PCB according to the design.
4. Glue the battery, switch and USB C input in place in the box
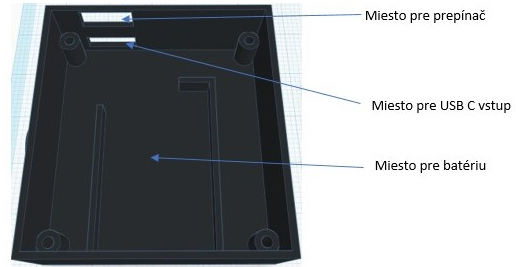
5. Insert the buttons at the top of the box
6. Insert the board into the box
7. Close the box
8. Screw on the box
Insert games into the console
• Open Arduino IDE> File> Preferences
• Enter the URL in the Additional Boards Manager URL and press OK.
o URL: https://github.com/MrBlinky/Arduboy-homemade-package
• Go to Tools> Boards> Boards Manager.
• Write homemade or Arduboy homemade in the text box.
• Select Arduboy Homemade package and press Install.
After installing the libraries go to the Tools menu and select the following:
• Board: Homemade Arduboy
• Bootloader: Cathy3K
• Based on: SparkFun Pro Micro 5V - Alternate Wiring
• Core: Arduboy optimized core
• Display: SSD1306
Games can be downloaded from: https://community.arduboy.com/c/games/35.
Open the .ino file and press upload.
Dungeon crawler
packman like


PROJECT IS COMPLETED - Last update: 13-JAN-2021
Hi, my name is David Csomor (s03) and my corresponding email is (
In my knowledge base, I try to very briefly describe a process of rooting an Android phone, what it is, what are advantages/disadvantages and how to do it on a Samsung Galaxy Note 9.
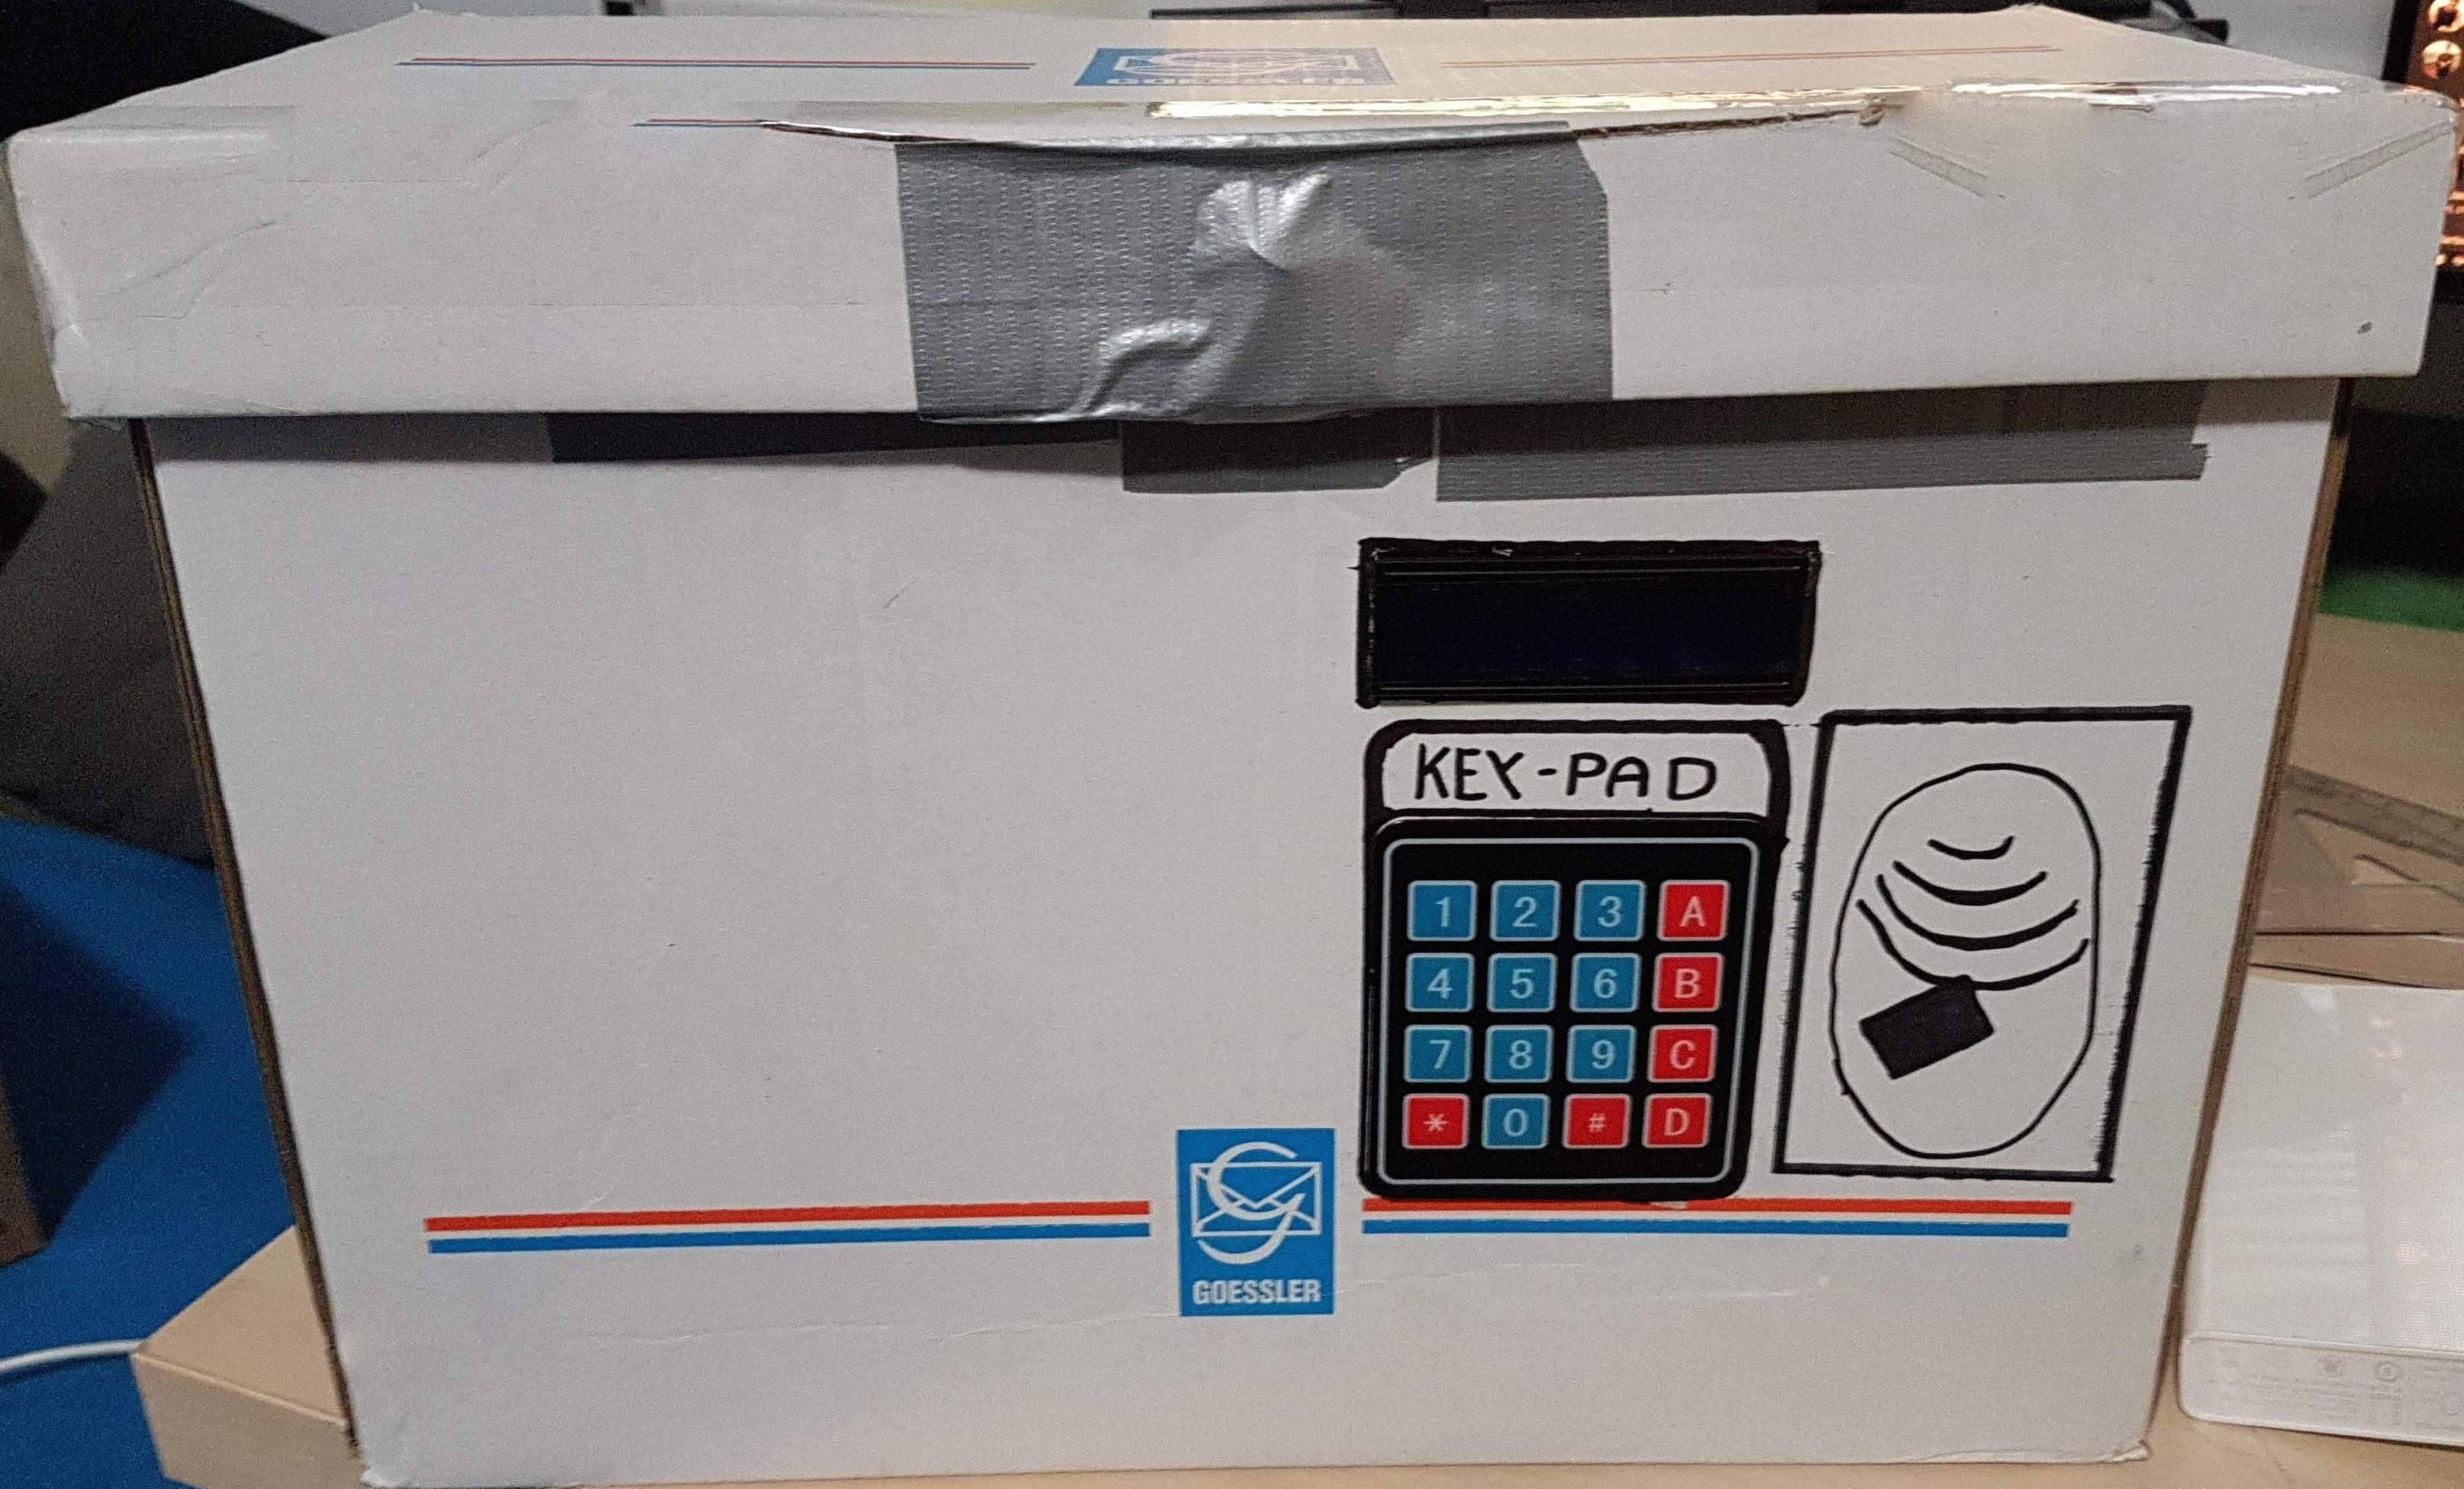
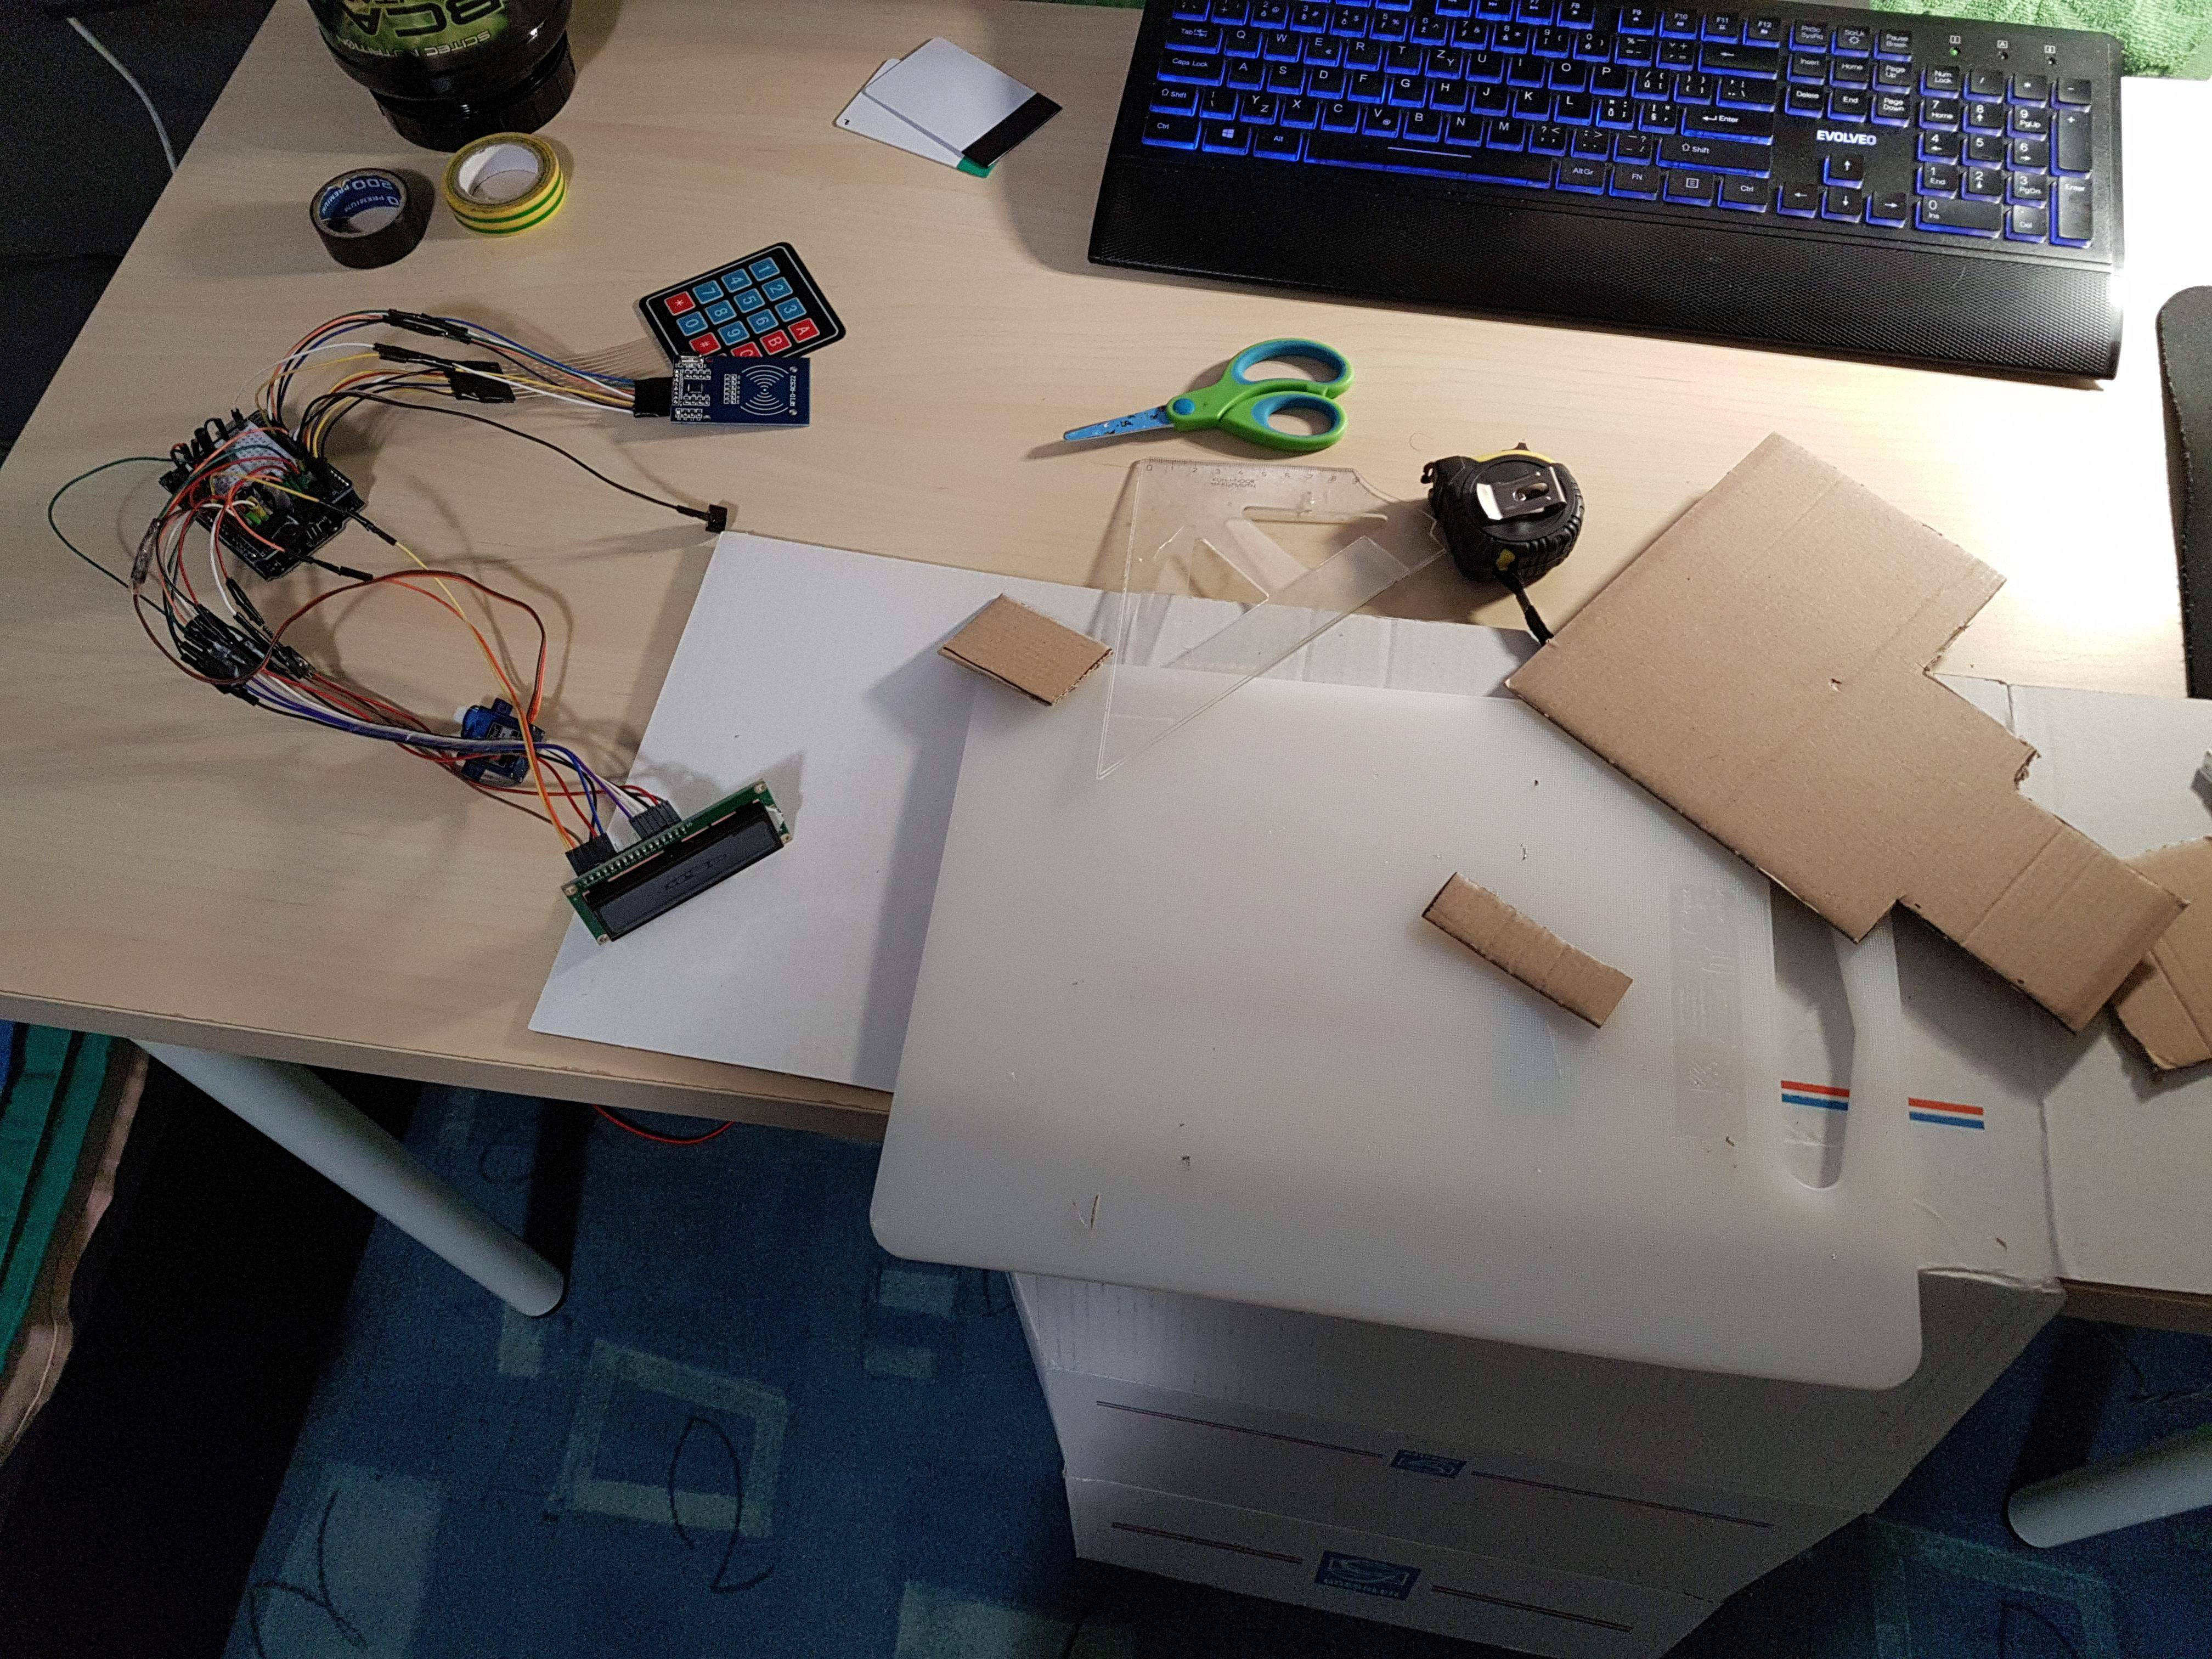
In my project, I am making an access control system (demonstrated on a safe/strongbox prototype), which can be locked/unlocked through RFID card or PIN code. The safe is able to provide auditory and visual cues about its state.
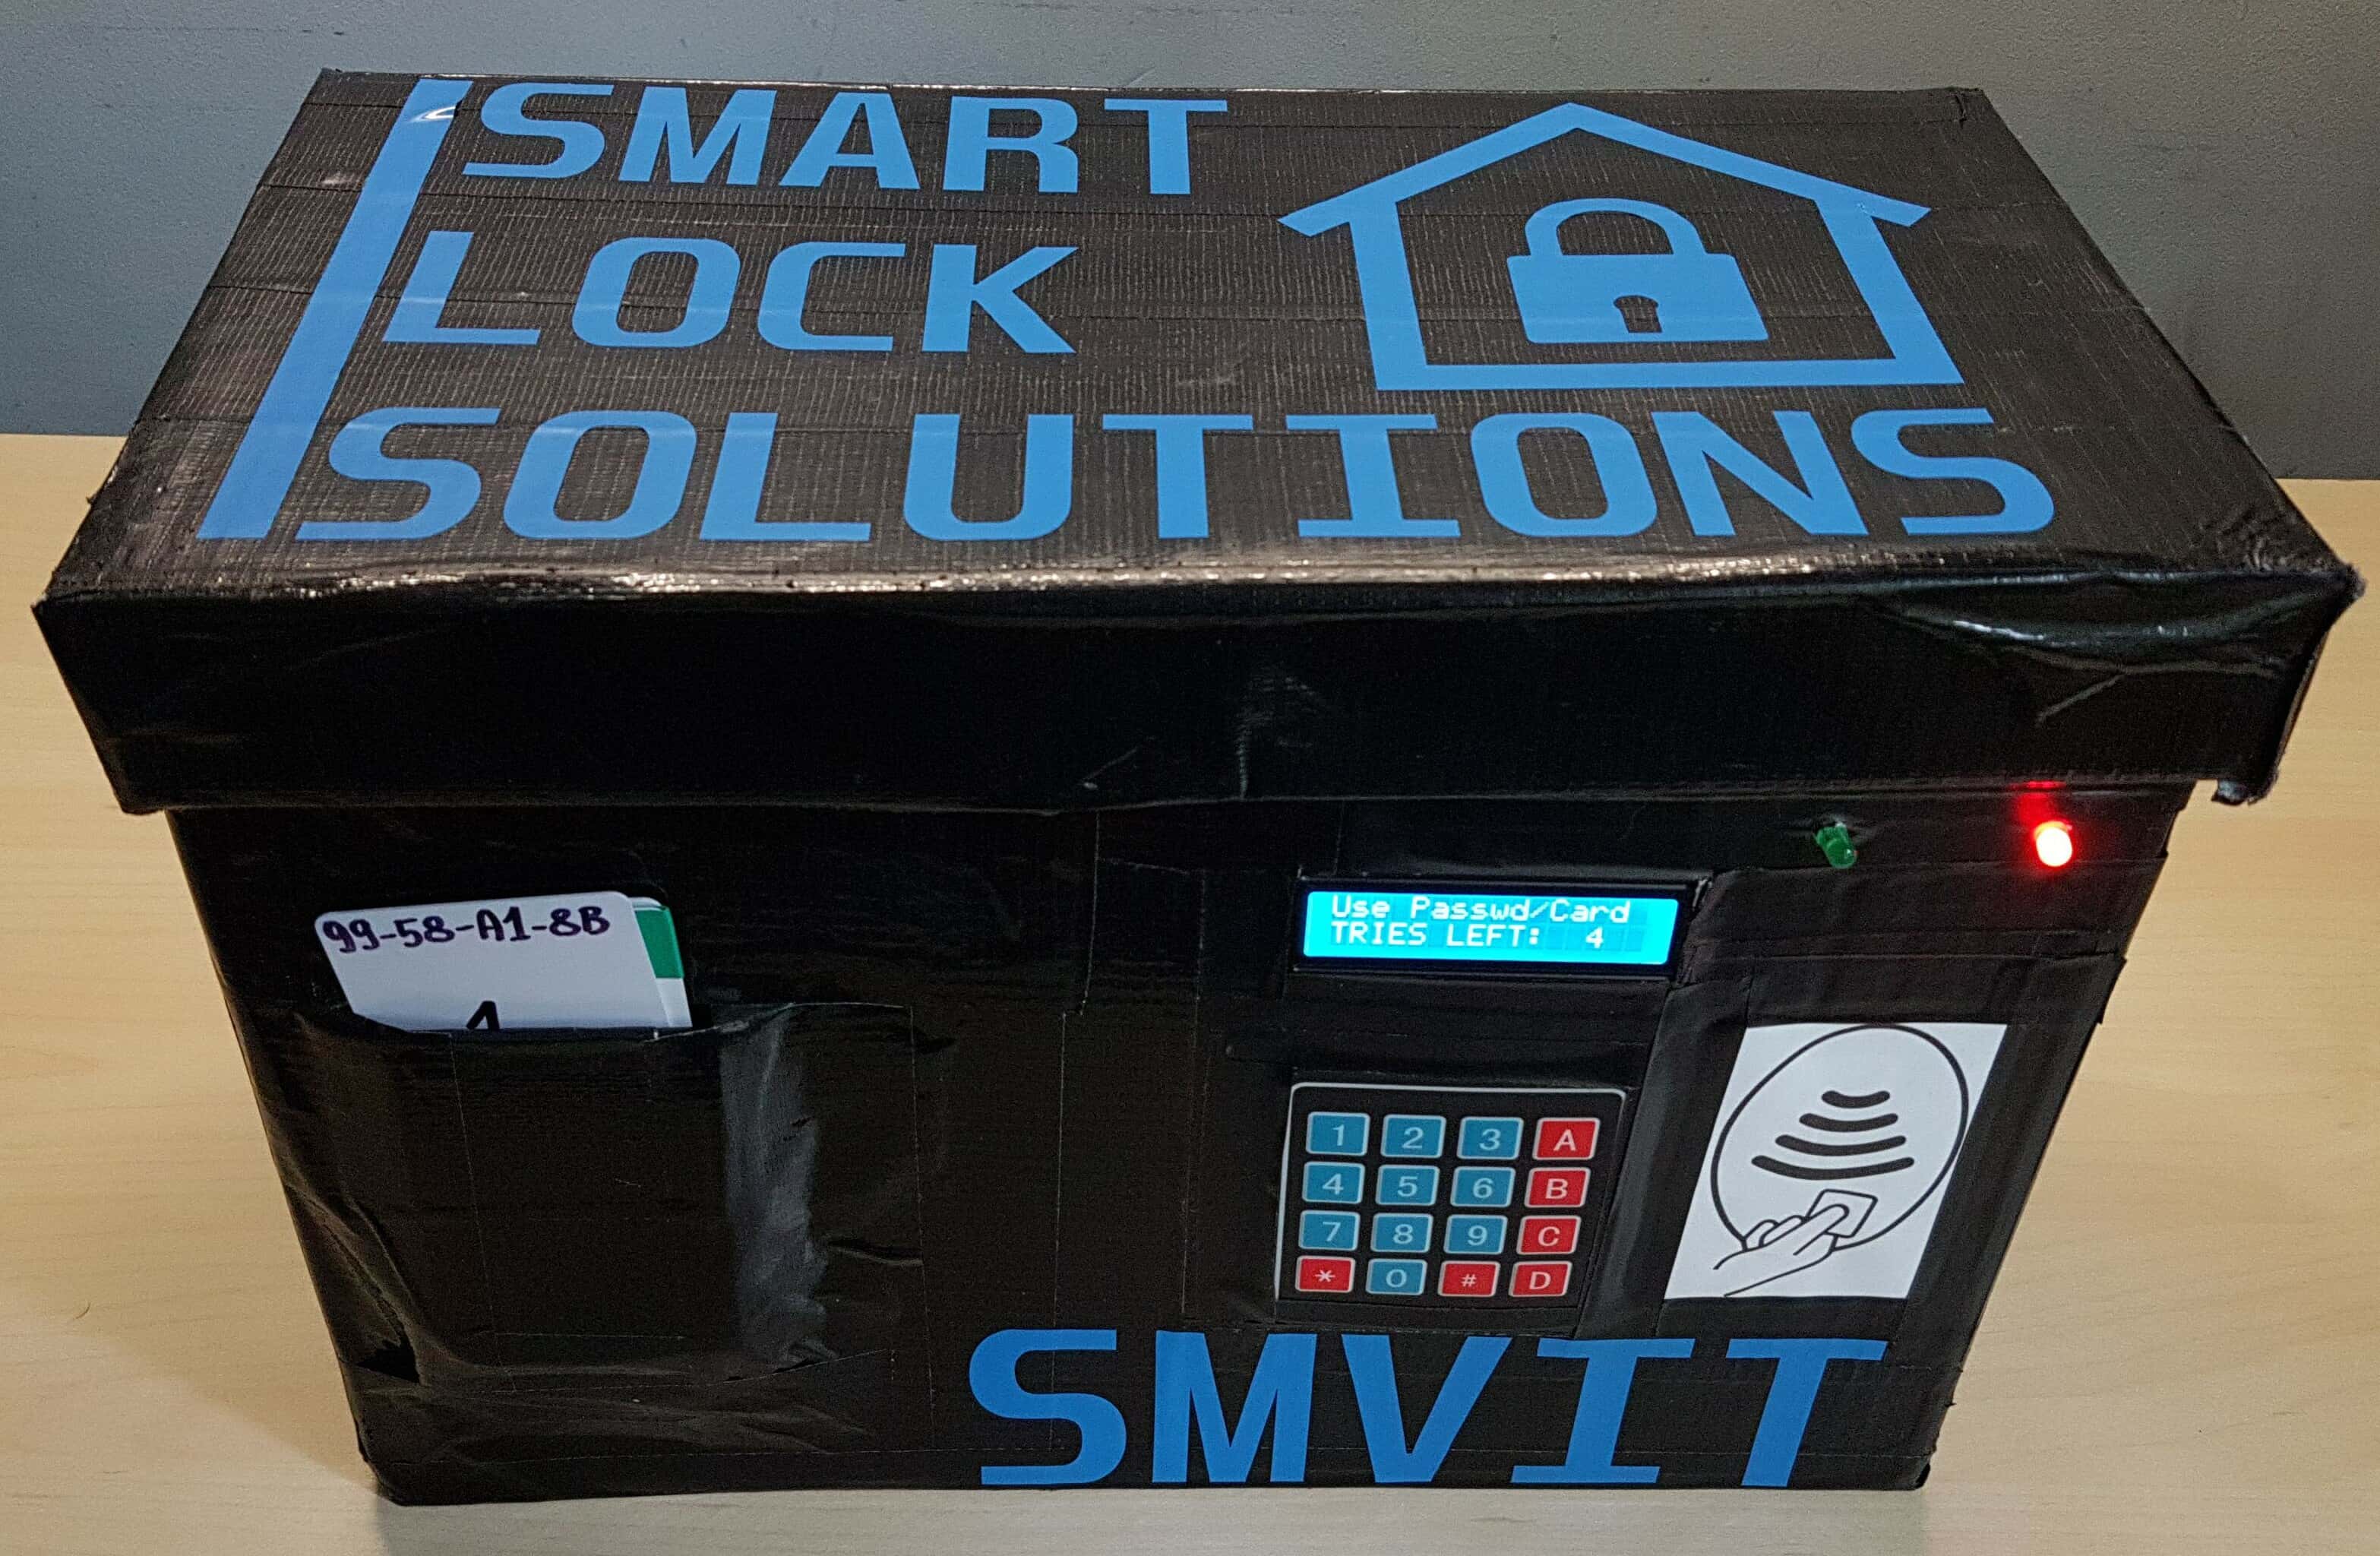
Safe/strongbox prototype - front.

Safe/strongbox prototype - back.
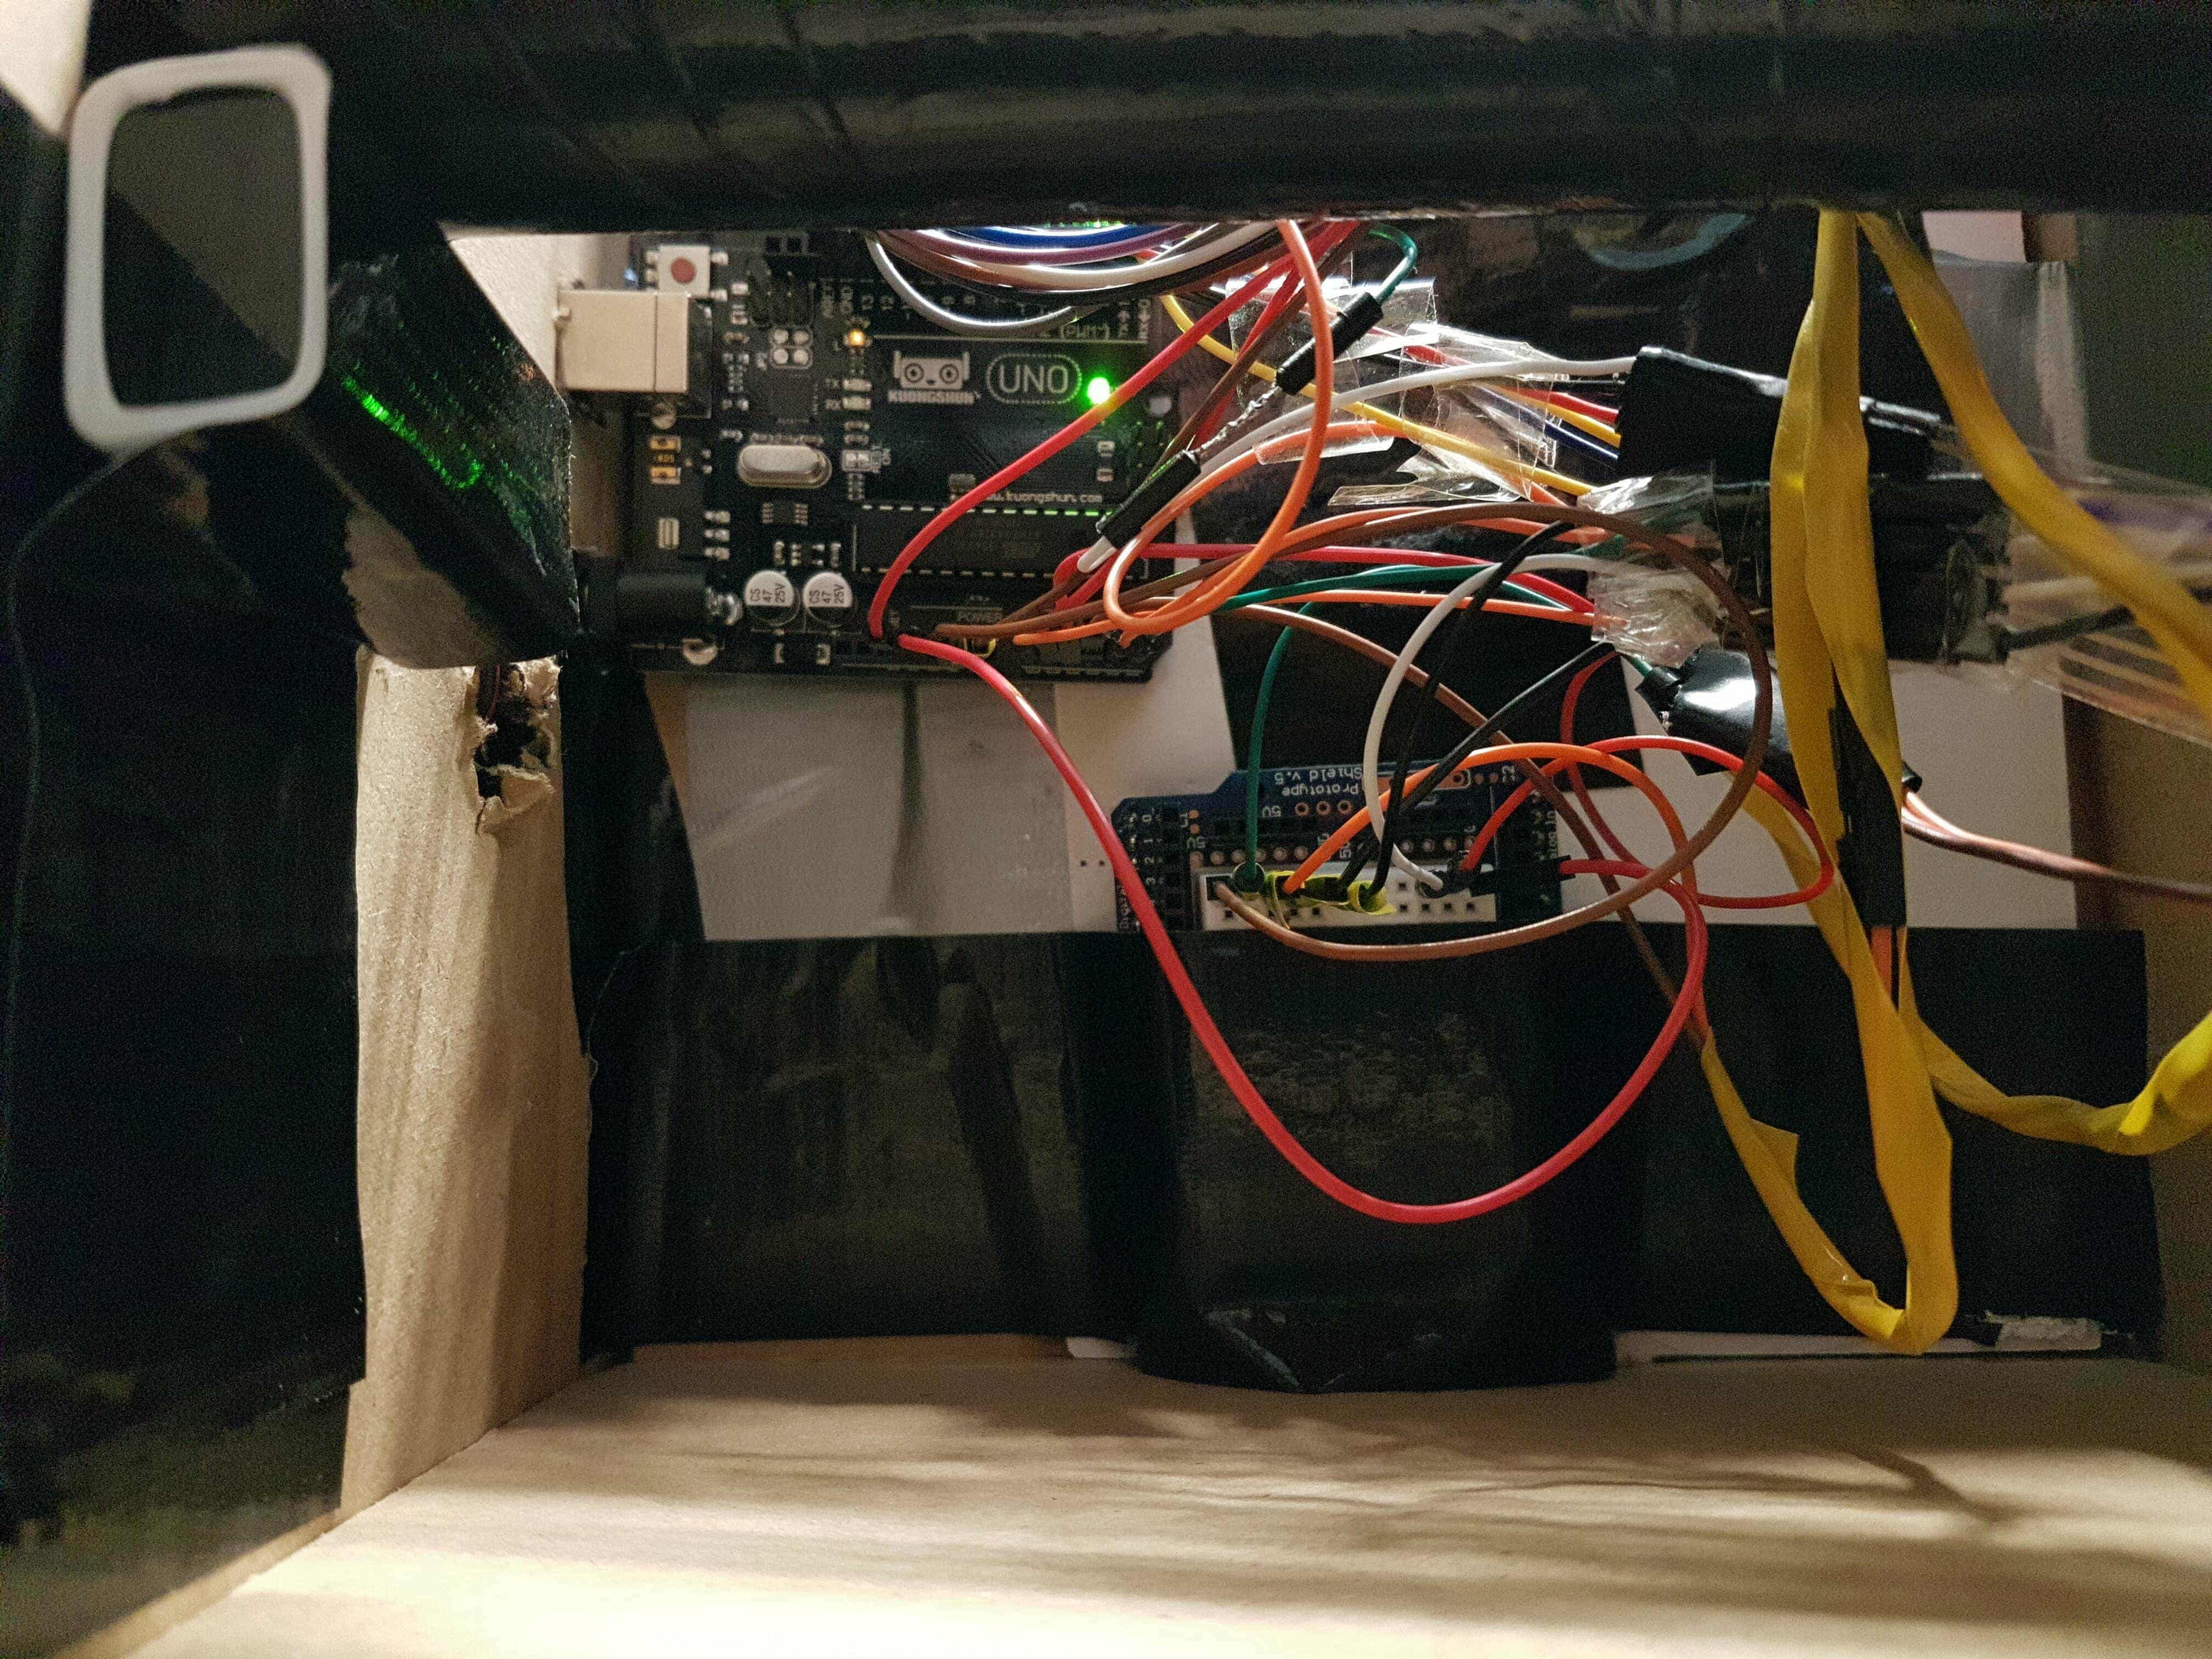
Safe/strongbox prototype - inside.
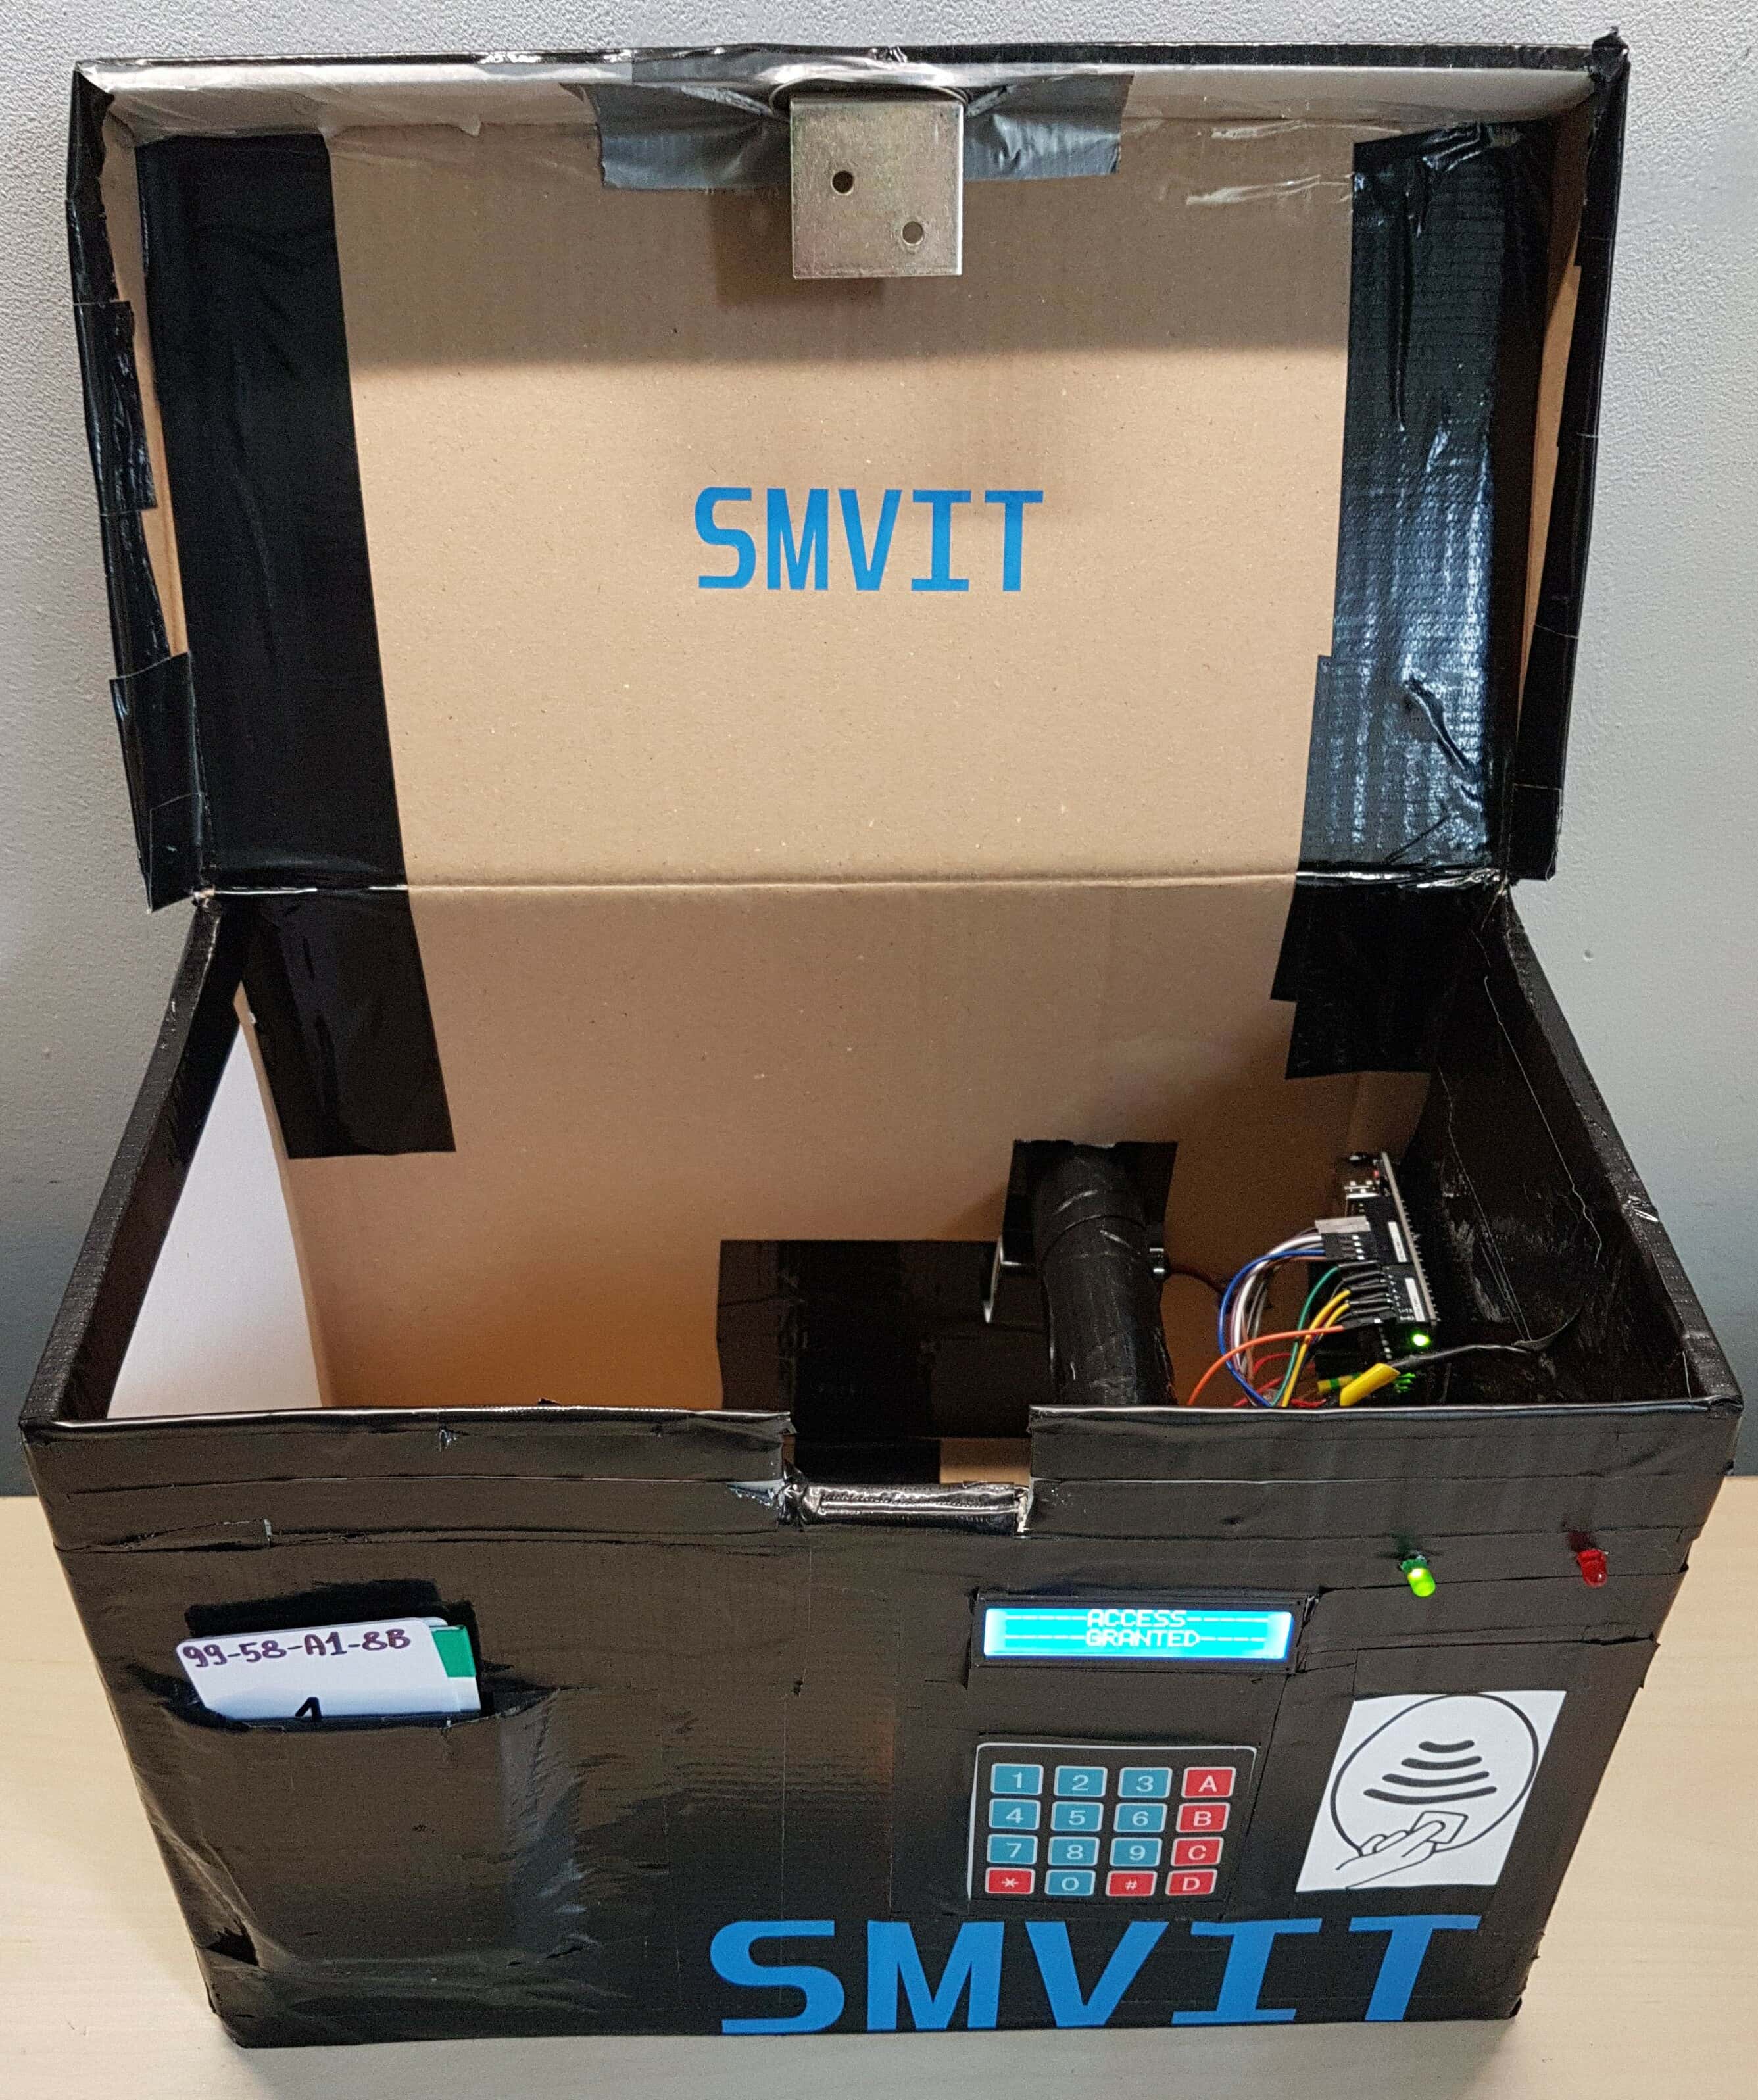
Safe/strongbox prototype - oepened.
 Safe/strongbox first prototype.
 Safe/strongbox modeling.
| # | Položka | Popis | linka |
| 1 | Predstavenie | ||
| 2 | Príspevok do vedomostnej databázy | ||
| 3 | Základné informácie o projekte |
| # | Položka | Popis | linka |
| 1 | Predstavenie | ||
| 2 | Príspevok do vedomostnej databázy | ||
| 3 | Základné informácie o projekte |
Strana 13 z 21


 2023/2024